Configure EdgeRouter X
This guide will walk you through configuring a Ubiquiti EdgeRouter X.
Required Hardware
- ERX Router and power cable
- Ethernet cable
- Computer
- USB Ethernet adapter (if computer doesn't have ethernet port)

Setup Steps
Wire up ERX
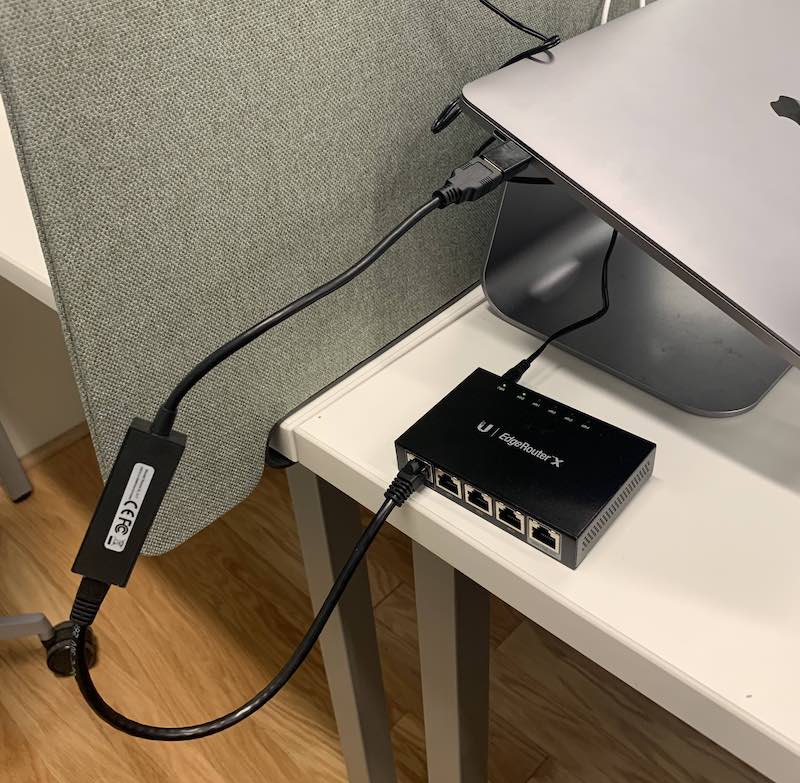
- Plug the ERX into its power cable, and plug the power cable into an outlet.
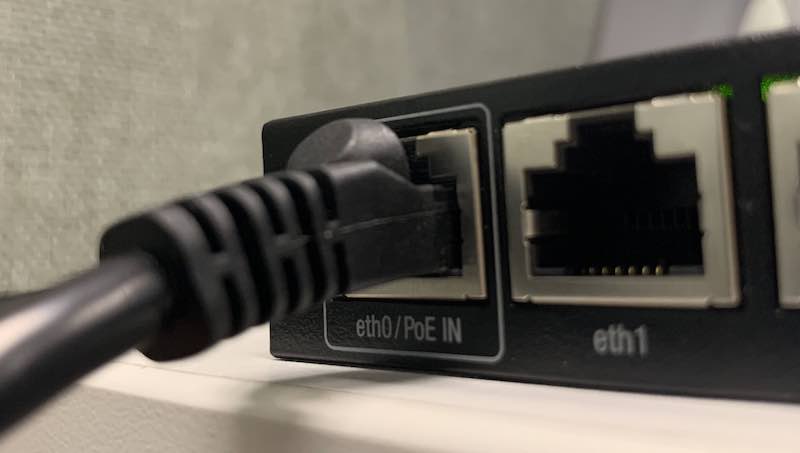
- Connect the
eth0port of the ERX to your computer with an Ethernet cable, using the USB Ethernet adapter if you don't have an Ethernet port.
Configure your network settings
Follow the instructions here: Setting a static IP for your computer
Configure ER-X using Wizard
- Navigate to the portal at https://192.168.1.1 in your browser
- Log into the portal with username
ubnt, passwordubnt.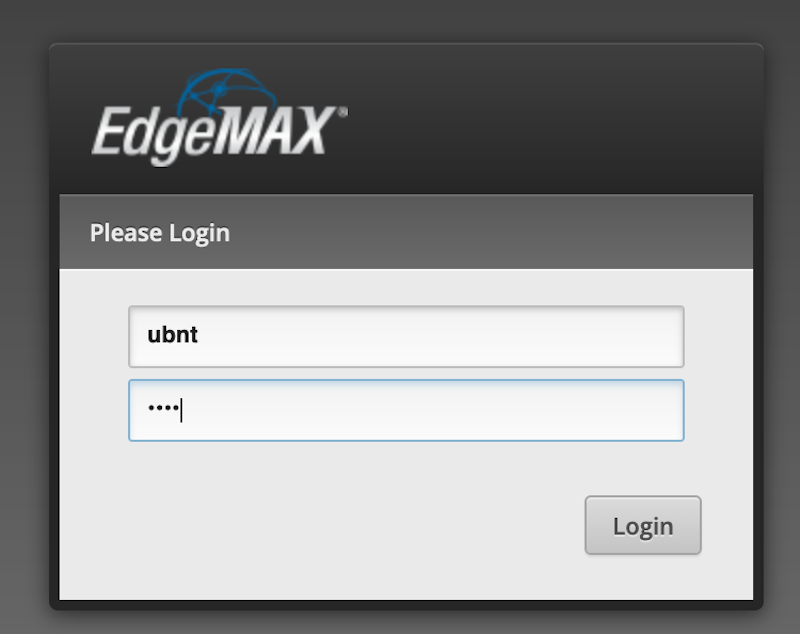
- On the
Use wizard?prompt, press yes.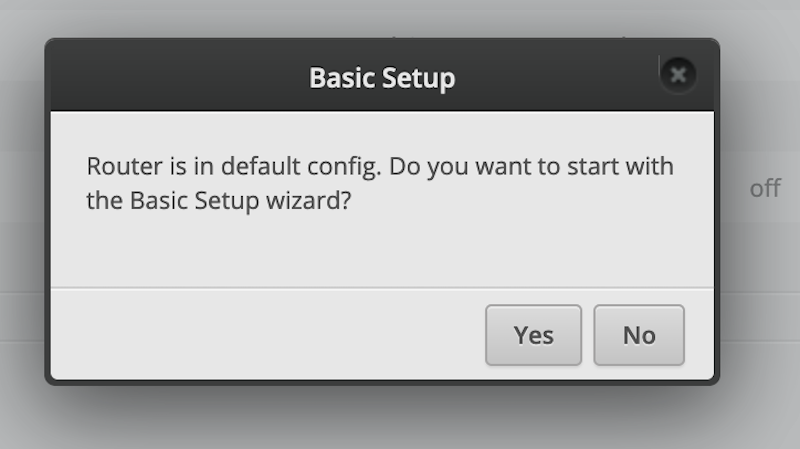
- Change the
Portfrometh0toeth4.This configures the port to serve as the WAN for the Litebeam antenna. - Under
User Setupcreate a new user and set the PCW username and password. - Press
Applyand follow the instructions to Reboot the device. - Return to the portal and log in with the PCW username and password (contact project maintainers for this info).
- At the
Dashboard,click onActionsforeth4to turn on POE. - Finally, Click on the
Systemtab at the bottom left of the console. - Input the host name for the device.
- Set up the DNS address as 1.1.1.1.
To double check if a device is properly configured, check the settings under the Dashboard and System tabs. To verify WAN is set to eth4, visit the Firewall/Nat section. Under the NAT tab, see if Masquerade is set to eth4 for the WAN masquerade.
Configure ER-X using Config File
- Download the ERX config file
- Navigate to the portal at https://192.168.1.1 in your browser
- Log into the portal with username
ubnt, passwordubntas above. - On the
Use wizard?prompt, press no. - Press the
Systemtab on the bottom of the page. - Under the
Restore Configsection, pressUpload a fileand select the ERX config file you downloaded.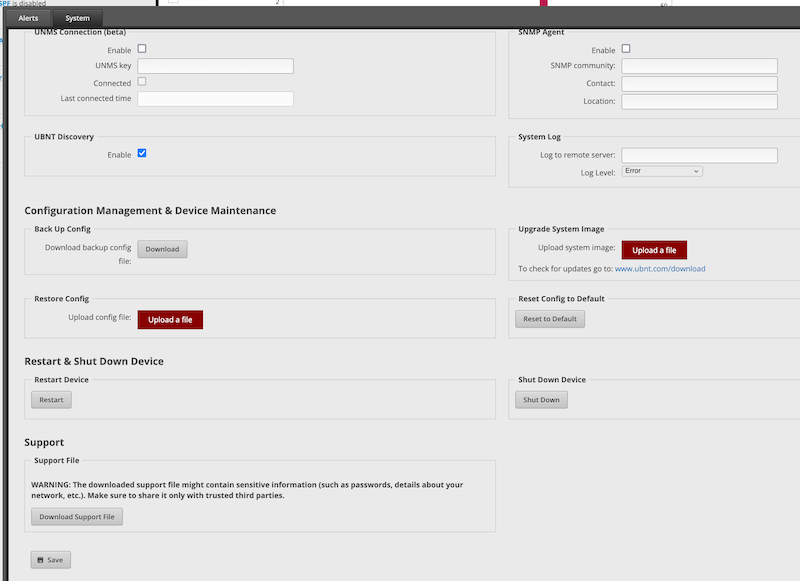
- The ERX will reboot using the new configuration.
- To do more configuration, you can log back into the portal using the PCW username and password.
- Make sure to follow instructions (steps 11 and 12) to update the host name and DNS address in the
Systemtab.
Installation Setup
When installing the ER-X at a house with a rooftop Litebeam and a Mesh AP, remember the typical setup is:
- Port
eth0serves as the passthrough for POE from an adaptor plugged into an outlet. - Port
eth1serves for the LAN port of the adapter powering the first PCW Mesh AP. Portseth2andeth3can function for wired connections to additional Mesh APs, each of which need to be powered through separate POE adaptors. - Port
eth4serves as the WAN port with passthrough POE to communicate and provide power to the rooftop Litebeam.